Cafans Journal
Stories & FindsCAFANS Guide: How to Build a Spreadsheet-Driven Shopping System
If you have ever lost track of what you ordered, what it cost, and whether the price you paid was actually fair, this CAFANS guide is for you. CAFANS stands for Create, Analyze, Filter, Acquire, Note, and Settle — a repeatable workflow built around one simple tool: the spreadsheet. By the end of this guide you will know how to turn a plain grid into a shopping spreadsheet, a product comparison spreadsheet, and even an agent shopping spreadsheet that keeps every purchase accountable.
Why the Spreadsheet Is the Core of CAFANS
A spreadsheet is boring in the best possible way. It does not push ads, hide fees, or forget what you told it. Whether you use Excel, Google Sheets, Numbers, or LibreOffice Calc, the mechanics are the same: rows for items, columns for attributes, formulas for totals. The CAFANS method leans on three spreadsheet skills — structured data entry, formula-driven analysis, and filtered review — which is why every serious spreadsheet guide starts with column design rather than formatting.
Step 1: Create the Master Shopping Spreadsheet
Start with a single tab called Master List. Give each row a unique item ID (ITEM-0001, ITEM-0002) so you can reference it later. Add columns for item name, category, quantity, target price, actual price, seller, order date, delivery date, status, and notes. Add a currency column if you shop across regions, and a link column for the product URL.
Use data validation to constrain the status column to a fixed list: Wishlist, Researching, Ordered, Shipped, Delivered, Returned. This one dropdown turns a static list into a workflow. Freeze the header row, apply an auto-filter, and you have the foundation of every product comparison spreadsheet: consistent structure.
Step 2: Analyze with Formulas and Pivot Tables
A spreadsheet only becomes useful when it calculates for you. Add a column for line total using =Quantity*Price, then a summary block with SUM, AVERAGE, COUNTIF, and SUMIF. For example, =SUMIF(CategoryRange,"Electronics",TotalRange) tells you how much of your budget went to electronics this month.
Pivot tables are the analysis engine of any spreadsheet guide. Group by category to see spend distribution, group by seller to spot vendors you rely on, and group by month to compare trends. Conditional formatting can flag rows where the actual price exceeded the target price by more than 10%, turning your sheet into a self-auditing shopping spreadsheet.
Step 3: Filter for Real Product Comparison
Product comparison is where most buyers go wrong: they compare two listings on two tabs and forget the third option. A product comparison spreadsheet solves this by forcing every candidate into the same schema. Create a Compare tab with columns for model, core specification, secondary features, warranty, shipping cost, return window, seller rating, and effective unit price.
Compute the effective price yourself: item price plus shipping plus tax minus any discount, divided by quantity. That single normalized figure exposes the offers that look cheap but are not. Use filters to hide candidates that fail a hard constraint — voltage, size, compatibility — and keep only the survivors visible. Sorting by effective unit price, then by warranty, gives you a defensible shortlist rather than a gut feeling.
Step 4: Acquire Through an Agent Shopping Spreadsheet
If you buy through shopping agents, proxies, or consolidation services, an agent shopping spreadsheet is mandatory. Shipments from an agent have extra cost layers: service fee, domestic shipping, international freight, customs, and inspection. Add these as separate columns per order, not as a single lump sum, so you can see the true landed cost.
Build a Parcel tab with parcel ID, consolidated weight, volumetric weight, chargeable weight, freight rate, and declared value. Use =MAX(ActualWeight,VolumetricWeight) to compute chargeable weight — a formula that has saved many buyers from surprise invoices. Track each parcel's status with the same validation list you used on the master sheet, and link parcel IDs back to item IDs so every item can be traced to the shipment that carried it.
Step 5: Note Everything That Affects the Next Decision
Notes are the cheapest insurance in commerce. Record why you chose a seller, what the support agent promised, which packaging arrived damaged, and how long delivery actually took. Use a consistent note prefix — PRICE, QUALITY, SHIPPING, SERVICE — and set your filter to search notes. When you reorder six months later, this column is worth more than any review page.
Also keep a small Reference tab listing categories, status values, currencies, and seller names. Named ranges drawn from this tab keep formulas readable and prevent typos from breaking the model. A spreadsheet guide that skips this step usually produces sheets that collapse after a hundred rows.
Step 6: Settle the Budget and Close the Loop
The final CAFANS step is reconciliation. Compare planned budget against actual spend using a monthly summary table, and compute variance with =Actual-Planned. Add a return tracker: item ID, return reason, refund amount, and refund received date. Unclaimed refunds are the silent leak in most shopping budgets, and a shopping spreadsheet makes them visible.
Once a month, archive closed orders to a separate tab, keep formulas pointing at the active sheet, and back up the file. Then review the pivot tables and ask three questions: which category overspent, which seller underdelivered, and which comparison attribute best predicted satisfaction? The answers feed directly back into the Create step, closing the loop.
Quick Checklist for Your First Sheet
- Unique item IDs and a validated status column
- Line-total formula plus category and monthly summaries
- A dedicated Compare tab with effective unit price
- A Parcel tab with chargeable weight for agent orders
- Structured notes and a fixed reference tab
- Monthly reconciliation with budget variance and refund tracking
The CAFANS method works because a spreadsheet imposes discipline without adding friction. Start with one tab, add the compare tab next month, and add the parcel tab the first time you use an agent. Within a quarter you will have a personal dataset that beats any marketplace dashboard — and a shopping spreadsheet you actually trust.
Editor's selection
Popular Products
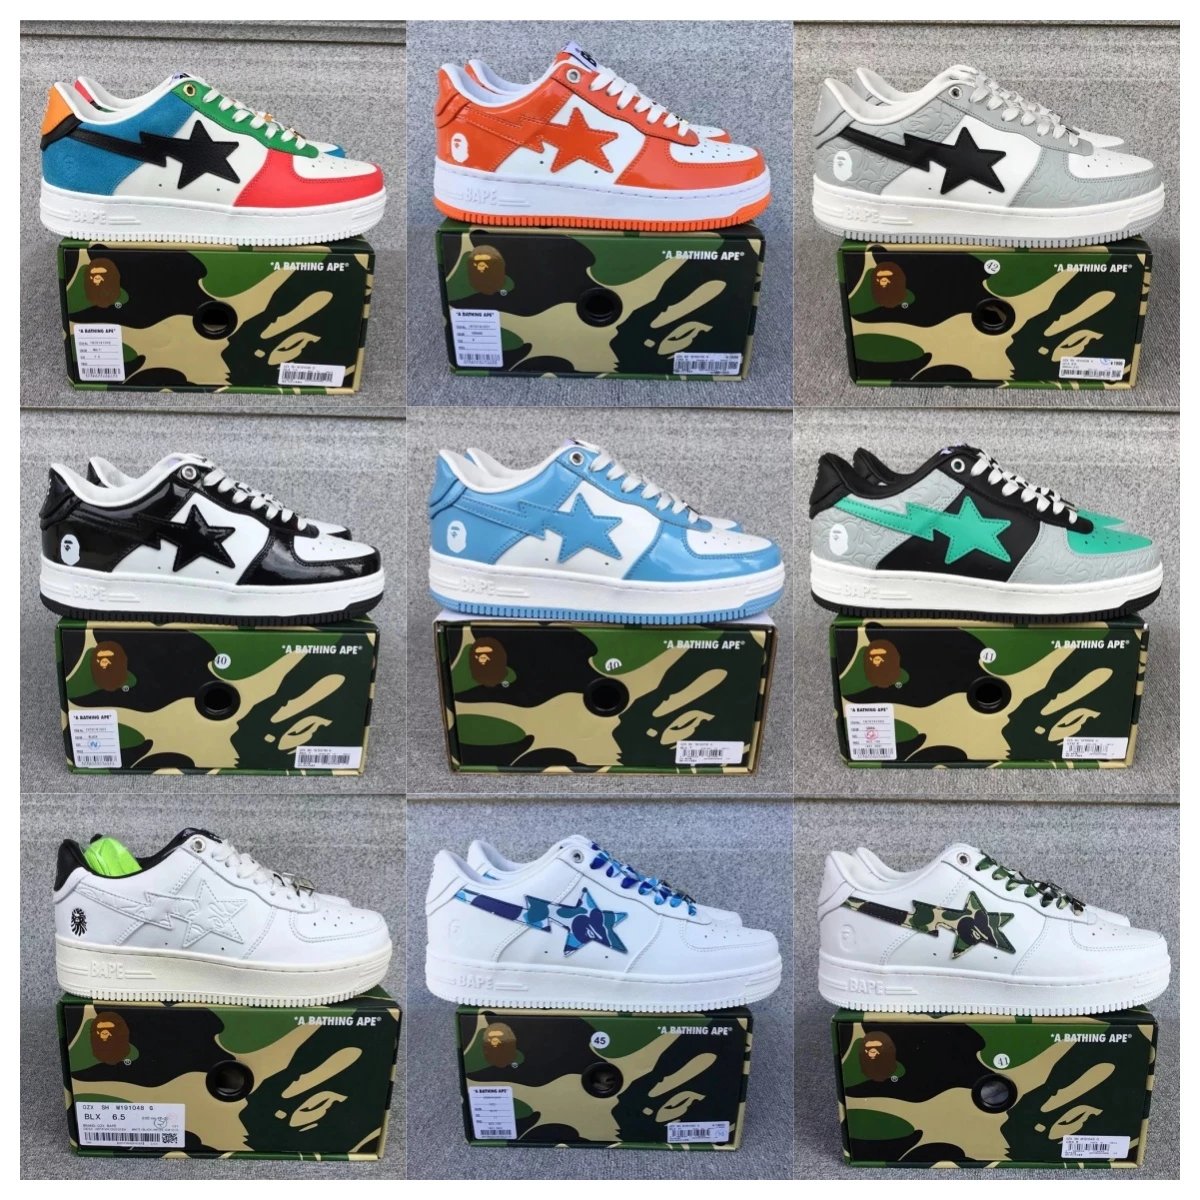
Skate Shoes SQ-002 - LoongBuy spreadsheet - 141122
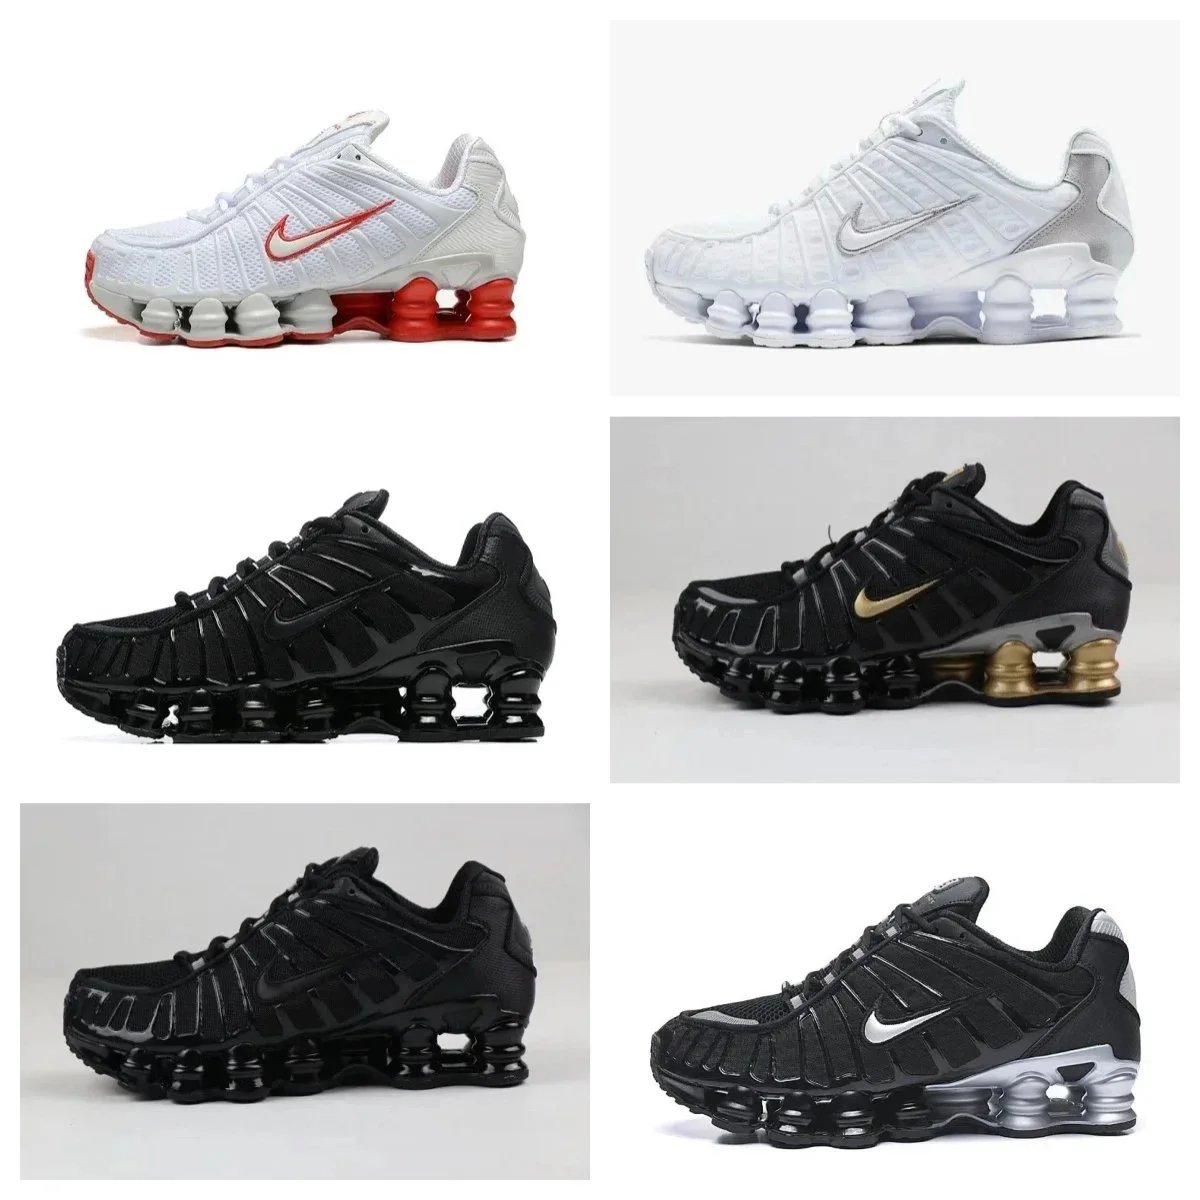
Casual Shoes - Oopbuy spreadsheet - 135681

Platform Casual Shoes - Hubbuycn spreadsheet - 135441

XW21 Casual Shoes - Litbuy spreadsheet - 136147

Ph076 Breathable Running Shoes - CSSBuy spreadsheet - 136150

PH Running Shoes - MyCNBox spreadsheet - 136149

006-RS Classic Casual Shoes - Oopbuy spreadsheet - 136148